
How to Unlock Your Next DIY Inspiration: Part One - Antique Barn Lights
/
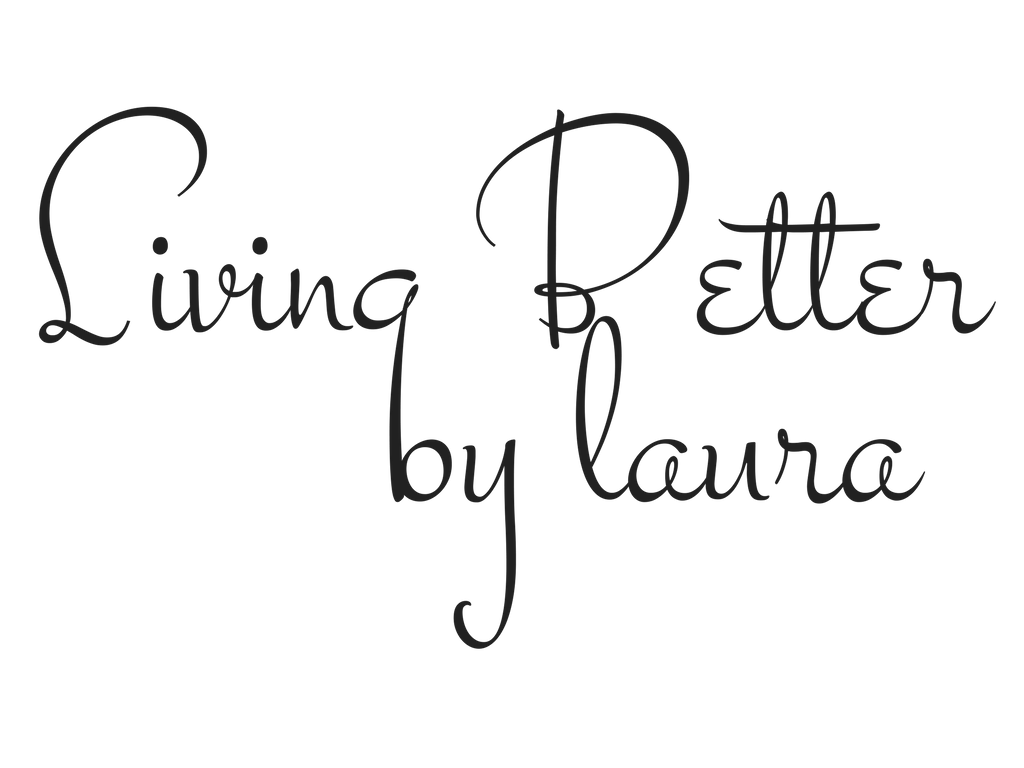
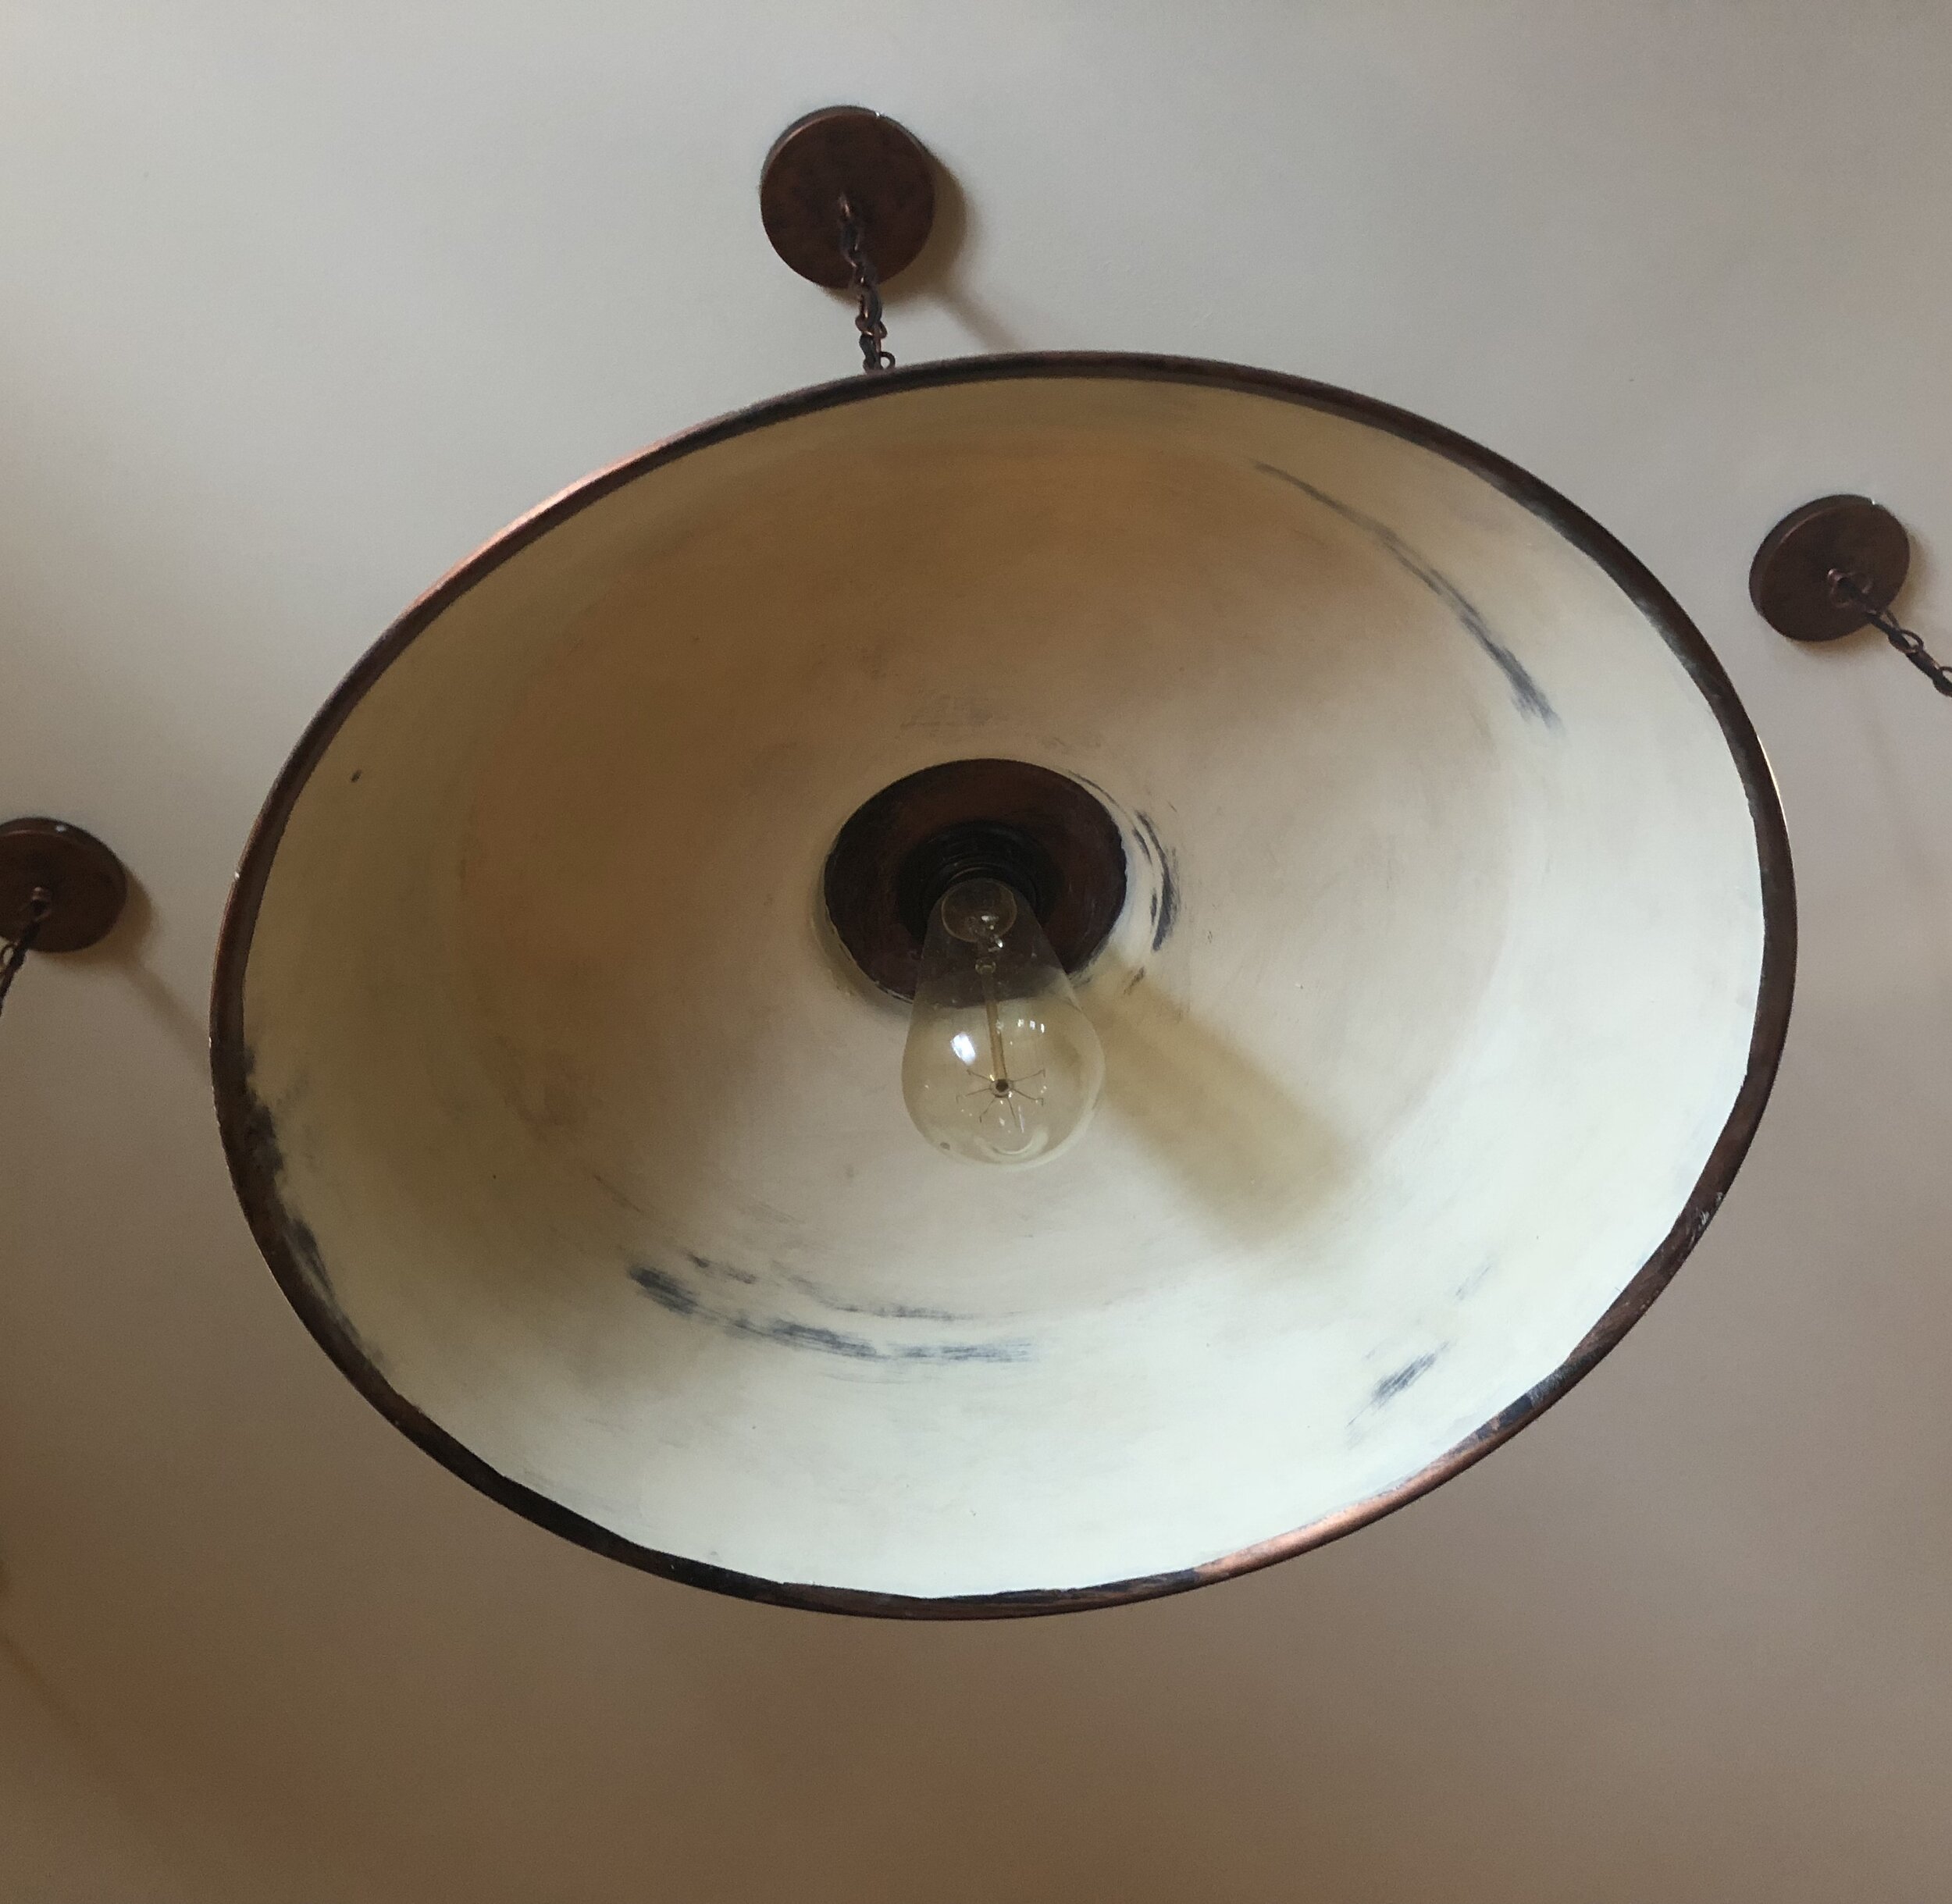
The finished product. Distressed new barn pendants made to look like antiques.
Welcome to part one of my new series - Unlocking Your DIY Inspiration. This will be a group of short posts on the many things you can DIY. Rather than how-to articles, the idea here is to dare you explore your creativity, to give DIY a try, to spruce up or transform items in your home. Let’s get going with a look at creating antique-style barn lights…
When I was planning to replace my kitchen light fixtures, I longed for antique barn lights. Because of my open floor plan, in order to make a bold statement, something that would stand out, I realized I would need a large diameter pendant of at least 12 inches. And then I started shopping….
What I found was true antique barn lights are costly. Hundreds of beautiful, new, barn-style pendants were available. But none had the warm, lovely patina of an antique.
I couldn’t find that one-of-a-kind, striking fixture that would be the visual focal point of my kitchen/living area. That is, ones within my budget. All the most appealing options ran from a couple of hundred bucks to a thousand dollars each. Take that figure and multiply it by the five spots above my kitchen island, plus the electrician’s fee, and my finances were blown.

This is the inexpensive bronze toned pendants I found online. I took off the removable metal cage for a cleaner look. However, I love keeping the cage in a more industrial chic decor.
So, taking matters in to my own DIY hands I found some inexpensive faux bronze colored pendants in the shape and size I wanted. Then, I pulled out the paint.

Before painting and lowering the lights to 42 inches above the island top.
I painted the exterior with 2 coats of Annie Sloan Chalk Paint in Louis Blue. Next, the underside was painted with another of Annie Sloan’s colors, Old White. I left the top medallion, chain, and rim in the original bronze-tone finish. Then, I sanded and scratched the paint in strategic places to give it the wear that loving use, through the ages, lends to an older piece.
That's all it took. Now, it's you turn to go for it! Find an item in your home that needs updating. Or, buy an inexpensive piece and turn it into a one-of-a-kind showcase piece to upgrade your decor. Keep reading for tips to unlock your creative journey below.

Each fixture is unique, just as a true antique would be.

The worn finish goes well with my traditional decor. Barn style fixtures go well in any design scheme - from country french to modern - depending on the finish. Go for sleek and polished for a contemporary look.
Tips for LIVING BETTER by Unlocking Your Creativity
If you are a DIY novice, attempting a distressed project is a forgiving way to start your creative journey! Don’t assume you’re not artistic, this craft is almost impossible to do wrong.
You’re going for the imperfect. Clumps, mistakes and nicks are desired! If you don’t like a result, just paint over it and begin again. Layers of color look fantastic and are found in most painted antiques.
Never worry about knocking around or scratching up a distressed piece - the more dents, the better.
It’s difficult to ruin a distressing or antiquing project. The idea is to messy it up. Thats why we call it “distressed”.
Research the ideal height for pendants to hang above your island top, floor or table top. 42 inches was ideal for my island.
Do you love home decor, DIY or interior design? Check out this article on The Best Way to Make a New Mirror Look Old. This a great post about distressing and antiquing DIY style
Have you tried a DIY distressing project OR if you have barn style fixtures in your home - post your photos in the Comment Section below. Share your unlocked creativity. I’d love to receive your inspiration for my next project and I bet other readers would too! And, please let me know what type of posts you like best.
If you know someone who loves DIY or home decor please share through social media.